
You hit the switch and are met with silence or a low hum. The vacuum pump, a critical piece of equipment, will not start. In a lab, a clinic, or on a job site, this isn't an inconvenience; it's a complete operational halt where safety and success are on the line.
A pump that fails to start is most often suffering from a lack of power, a tripped protective switch, a seized motor, or a failed starting component. A methodical, step-by-step diagnosis is the only safe way to identify and resolve this critical failure.

In any high-stakes environment, equipment reliability is paramount. A vacuum pump is not a simple tool; it is the heart of a process. When it fails to start, the situation demands a calm, intelligent, and systematic approach. Panic and guesswork lead to mistakes and deeper damage. As a specialist who has diagnosed countless "dead" pumps, I can assure you that the cause is often simple, but it must be found with precision. This is the professional protocol to follow.
Step 1: Is the pump receiving correct and sufficient power?
This is the first, non-negotiable step. Before you ever suspect the pump itself, you must verify its power source. Assuming the outlet is good is the most common amateur mistake.
A pump that seems dead is often just starved of electricity. You must confirm not only the presence of power but the quality of that power at the pump's connection.
An expert never assumes. They verify.
- Check the Breaker: Go to the electrical panel. Has the circuit breaker tripped? If so, reset it once. If it trips again immediately, you have a dead short in the pump or cord that requires professional service. Do not keep resetting it.
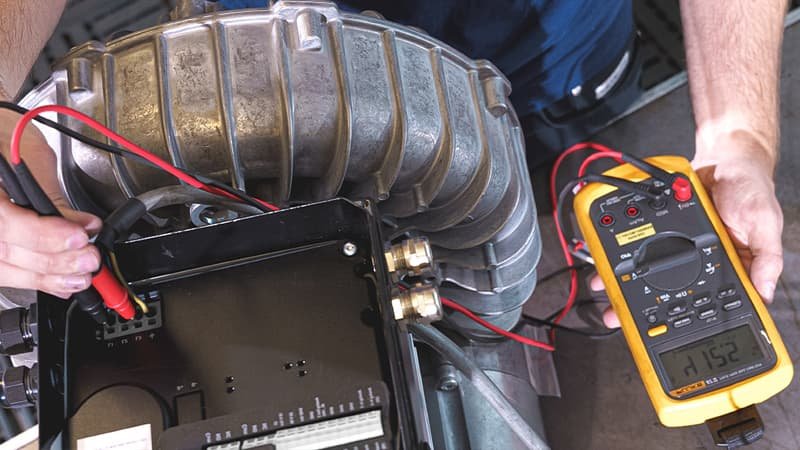
- Test the Outlet: Use a multimeter to confirm the outlet is providing the correct voltage.
- Inspect the Cord: Visually inspect the entire length of the pump's power cord for cuts, abrasions, or damage.
- The Extension Cord Problem: This is a critical point. A long or thin-gauge extension cord can cause a significant voltage drop. The motor may receive enough power to hum, but not enough to overcome inertia and start. Never use a light-duty household extension cord for a powerful pump motor. If you must use one, ensure it is a heavy-duty, properly gauged cord (e.g., 12-gauge) and as short as possible.
Step 2: Has the pump's own protective switch been tripped?
The pump was running fine, but it shut down and now it won't restart. This is often not a failure, but a sign the pump is protecting itself from damage.
Most high-quality pump motors have a built-in thermal overload switch. If the motor overheats, this switch trips, cutting power to prevent a burnout. The pump will not restart until it cools down and the switch is manually reset.
This switch is a safeguard. You must find out why it tripped.
- Poor Ventilation: Is the pump in a cramped, hot closet? The cooling fins on the motor need airflow. Ensure it has adequate space around it.
- Low Voltage: As mentioned above, low voltage from a long extension cord forces the motor to draw more amps, which creates excess heat.
- Extreme Duty: Running a pump continuously under a very heavy gas load can cause it to run hot.
Let the pump cool down for at least 15-20 minutes, then firmly press the reset button. If it starts, you have found the issue. If it trips again, you have a persistent problem that needs to be addressed.
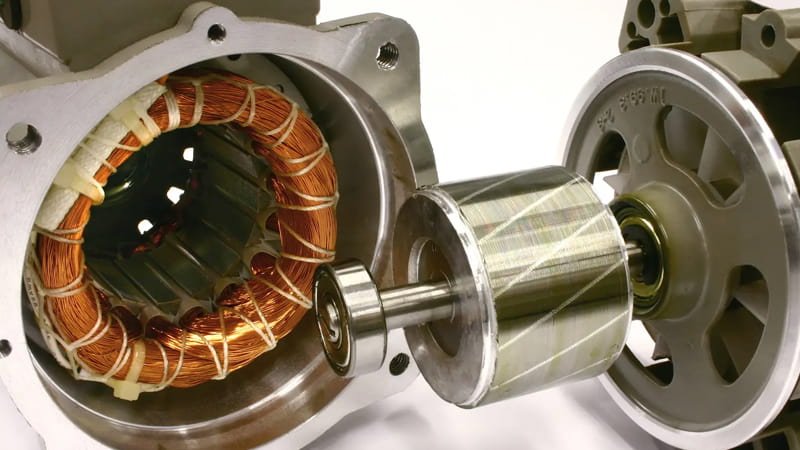
Step 3: Is the pump mechanically seized or "locked"?
You hit the switch and the motor makes a loud, low-pitched HUM but does not turn. This is a classic symptom of a seized or locked mechanism.
A seized pump means the motor wants to turn but is physically prevented from doing so. This can be caused by cold, thick oil, a hydraulic lock, or catastrophic internal damage.
This is a serious condition that requires careful diagnosis.
- Cold Oil: In a cold environment, the vacuum oil can become as thick as molasses. The motor may not have enough torque to turn the pump over. The solution can be as simple as moving the pump to a warmer area for an hour.
- Hydraulic Lock: This is common if a pump was stopped under a deep vacuum. Oil can seep over the vanes or piston. When you try to start it, the motor attempts to compress the incompressible liquid oil, causing it to lock up. The fix is to carefully use a wrench on the motor shaft (with the power OFF) to turn it backward a quarter turn to relieve the pressure.
- Bearing or Vane Failure: This is the worst-case scenario. A failed bearing or a broken vane has physically jammed the mechanism. The pump will feel completely solid and will not turn in either direction. This requires a complete professional rebuild or replacement.
Step 4: Could it be a failed start capacitor?
The motor hums, but it won't turn over unless you give the shaft a manual "push" (which you should never do). This points to a very specific and common component failure.
Single-phase AC motors require a start capacitor to provide an initial electrical "kick" to get rotating. When this capacitor fails, the motor has no starting torque. This is a common failure point and is relatively simple to fix.
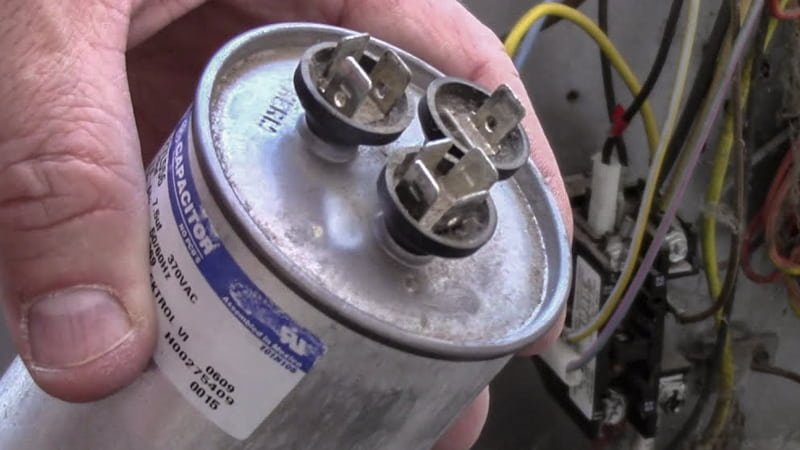
The capacitor is typically a black or silver cylinder mounted on the side of the motor. A visual inspection can often confirm the diagnosis:
- Look for a bulging or domed top. A healthy capacitor is perfectly flat.
- Check for any signs of leaking oil or a waxy substance.
If you see either of these signs, the capacitor is dead. Replacing it with a new one of the exact same MFD and voltage rating will almost certainly solve the no-start problem. Warning: Capacitors can hold a dangerous electrical charge even when off. This replacement should be performed by a qualified technician.
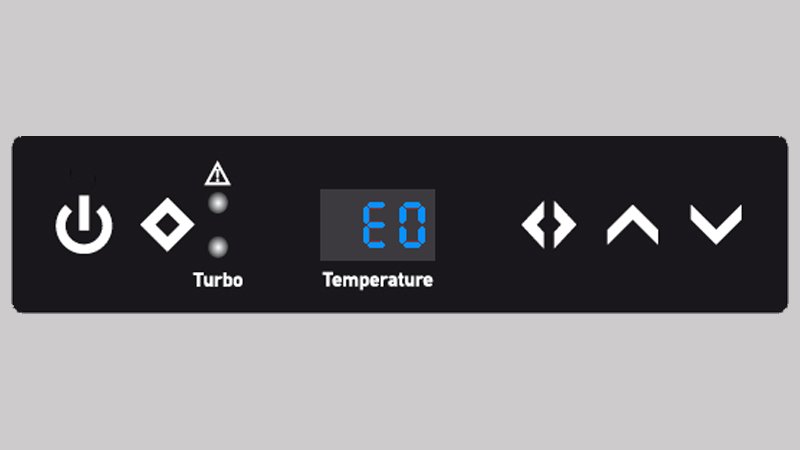
What if a control panel displays a "Failure" code?
Modern, complex vacuum systems often have a digital control panel. If it displays an error code, this is not a mystery; it's a direct communication.
A "Failure" message on a digital controller is a diagnostic code. The pump is telling you exactly why it refuses to start. You must reference the operator's manual to translate the code and identify the specific fault.
This is a feature of smart, often three-phase, systems. The controller will prevent a start if it detects a condition that could damage the equipment.
| Common Fault Code | Meaning | What to Check |
|---|---|---|
| Phase Loss / Phase Imbalance | One of the three legs of power is missing or low. | Check your 3-phase power supply and breakers. |
| Low Oil Level / Pressure | A sensor detects there isn't enough oil to start safely. | Check the oil level in the sight glass and top off if needed. |
| High Motor Temperature | The motor is still too hot from a previous run. | Let the pump cool down completely. |
Ignoring the code and trying to bypass the controller will lead to severe pump damage. The manual is your key.
Final Thoughts
A pump that won't start is a critical failure that demands a precise, methodical approach. By systematically diagnosing the issue—from the wall outlet to the pump's internal components—you can move from a state of crisis to a confident solution.
